What: A 23-day festival of lights, music and ideas
When: May 26 – June 17, 2023
Where: Sydney Opera House, Circular Quay and The Rocks, Royal Botanic Garden Sydney, Darling Harbour, Darling Quarter, Central Station and the Goods Line, Wynyard Station, Walsh Bay, Barangaroo and Taronga Zoo
Timings: Free light displays from 6pm – 11pm
Cost: Free for most of the light shows; some light events are ticketed, as are the music, ideas and food programs
Getting there: Use public transport (there will be road closures at some locations)
As winter starts to set in, Sydney comes alive with lights after dark. The popular Vivid Sydney festival is back this year, starting on Friday, May 26 and the lights will come on at 6pm AEST.
There's no light show that can compare to Vivid Sydney anywhere in the Southern Hemisphere. It brings tourists from all over the world to the Harbour City, with millions crowding the waterfront and key locations over the duration of the largest festival of lights in all of the Asia-Pacific region.
Last year's Vivid Sydney returned after a two-year hiatus because of the pandemic and, this year, it's bigger than ever. However, there's a major difference this year. Where the light shows in all the locations were typically free, this year some are ticketed. For example, the displays at the Royal Botanical Garden are going to cost AU$40 per adult (AU$28 for children under 13).
Also new this year is what the organisers are calling the biggest drone show in the Southern Hemisphere. Called Written In The Stars, this will run for only 10 minutes for six days through the entire festival. Another addition to Vivid Sydney this year is a food festival running alongside the music and ideas programs.
Vivid Sydney isn't restricted to just the waterfront. It expanded to other locations in Sydney in 2019 and this year it goes even further to encapsulate Wynyard Station's tunnel and the Carriageworks in Redfern.
So not only can you capture great images of the Opera House and the Harbour Bridge (along with the surrounding buildings), but photographers can flex their trigger fingers in other locations to get a portfolio of varied imagery of Sydney's annual light show.
So, if you're in Sydney between May 26 and June 17, you'll want to capture some of the best shots of the light show that you can.

While the pros know exactly what to do to capture gorgeous images of the lights and colours, it could be challenging for a less experienced photographer. And not everyone owns a 'real' camera, but most smartphones made in the last couple of years will help you get some nice shots with dedicated night modes and software-powered automated processing.
That said, if you want the best shots, then you’ll need the right gear and ensure you use the appropriate settings for said gear. After which it's a matter of finding the best spots to capture the most interesting angles.
You could be using top-of-the-line snappers and lenses and still take mediocre images if you're new to this kind of high-contrast night photography. So, if you’re keen on figuring out how to get the best shots, then follow the basic tips below and you could capture the most interesting, colourful and fun images during the entire Vivid Sydney festival.
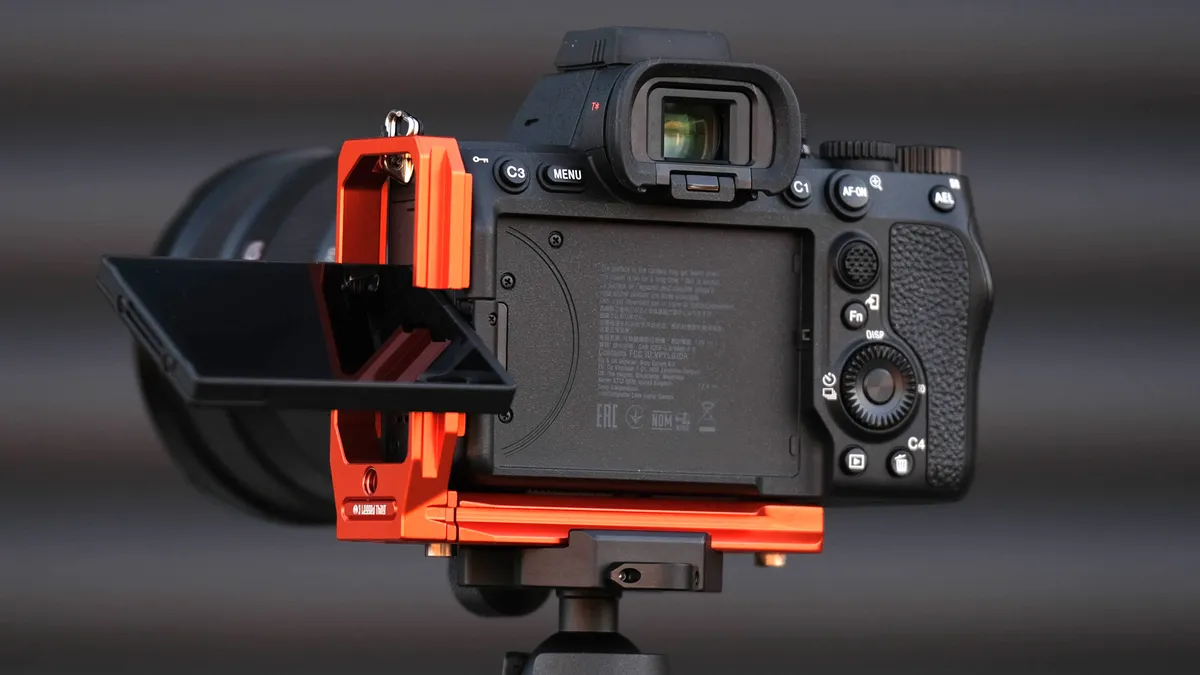
1. Use a tripod and a cable release
![(Image credit: Sharnee Swinnerton [@snowflakecreative])](https://cdn.mos.cms.futurecdn.net/Ji5zHNGudLhTW9Q69GfnY7-1200-80.jpg.webp)
The lights of Vivid Sydney are switched on only after dark. Taking images during this time of day means you’ll be using longer shutter speeds of about one second (or more, if you want to capture movement), and so will need to keep your camera steady. A tripod is therefore a must.
However, if you physically press the shutter button on the top of your camera while it’s on the tripod, you'll often capture some vibrations from your own movement. Which means you’ll also need to use a cable release. This will allow you to trigger the camera remotely, stopping the camera from shaking when you press the shutter.
Alternatively, if you don’t own a cable release or don't want to spend money on one, you’ll find that most cameras come with a self-timer mode, which can be set to take a shot either 2 seconds or 10 seconds after you’ve pressed the shutter button. This can be a very good alternative, but you should still make sure your camera is rock steady on a tripod.
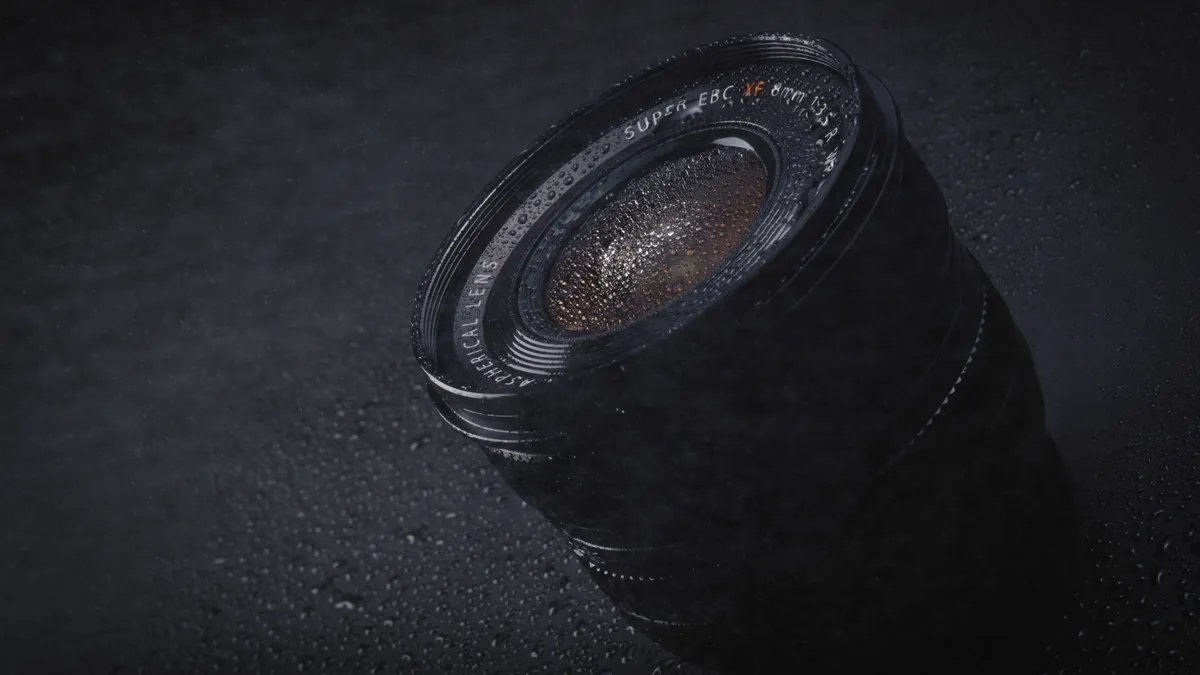
2. Get the right lens

Vivid Sydney is spread across multiple locations and, if you plan on covering a few of them in one night, you’ll end up needing different lenses for each scene. However, carrying multiple lenses in a bag can be both physically tiring and a logistical nightmare when you're moving through a crowd of thousands. So, we'd recommend getting yourself a universal zoom lens that will cover wide angles when you shoot from close up, like the light projections on Customs House and the Museum of Contemporary Arts, as well as allow you to zoom in when shooting from a distance. You can use any good quality 18-135mm or 28-300mm lens, or similar. Take a look at our picks of the best standard zoom lenses you can get right now.
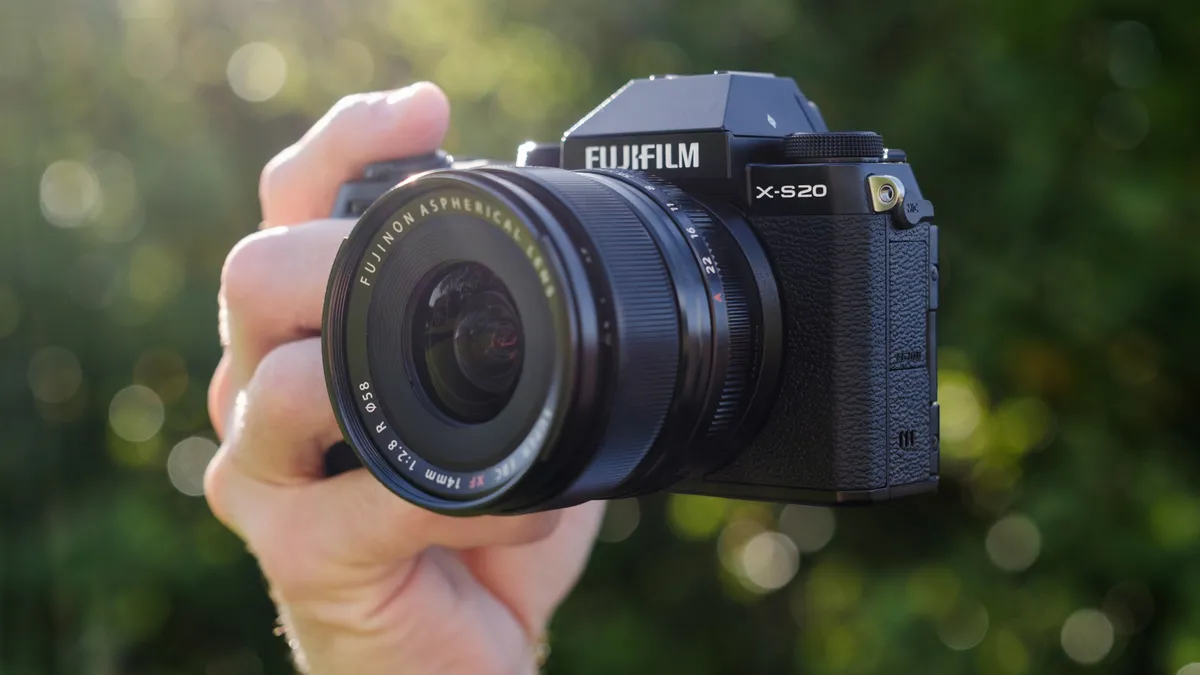
3. Use a camera with a manual mode
![(Image credit: Sharnee Swinnerton [@snowflakecreative])](https://cdn.mos.cms.futurecdn.net/ybtaBJiGmGNXYnvEJVgNZA-1200-80.jpg.webp)
When capturing scenes like those during Vivid Sydney, it’s important to shoot on manual mode as it gives you the most amount of control over your camera. You’ll need to change shutter speed and aperture size as you take images and move around to different spots, as well as changing the ISO value to suit each situation. The next three tips will help guide you through the manual settings that work best when photographing Vivid Sydney’s many lights.
4. Choose the right aperture

If you want to capture sharpness across the entire frame, you’ll need to use apertures of f/5.6 or above. The best aperture settings for Vivid Sydney are generally f/11 and f/12, which ensures you capture details throughout the entire frame.
If you want to capture more light and want to focus on the foreground, you can use wider apertures of f/4 and lower, but you'll need to ensure the lens you’re using performs well when wide open. Some lenses simply don’t produce good images when shooting at the widest aperture.
5. Use a fast shutter speed

Some of Vivid Sydney’s light projects change quite rapidly. In these instances, setting your camera to shoot at long shutter speeds – like you would during most night photography scenarios – will instead result in motion blur. Keep in mind that this traditional kind of night capture does work for some scenes, but locations like the Sydney Opera House, in particular, can be a problem at shutter speeds of 2 seconds and higher. To freeze the lights and capture sharp images, start with shutter speeds of 1/30th or 1/15th of a second, then adjust if needed. If you’re keen on capturing the movement of the lights on the ferries when photographing the Opera House, you can then try slowing the shutter speed down to 8 or 10 seconds.
6. Increase the ISO

If you’re looking to freeze the motion of the light projections so they don’t appear blurry, you'll need to do two things: use a fast shutter speed combined with a high ISO. We'd start at ISO 400 and see how that works, then move higher if needed. Keep in mind that the higher you go, the more noise (grain) you may get, depending on your camera’s noise performance. You should still be able to go up to 800, or even 1600 if necessary. If you’re using a long shutter speed to capture motion blur, be sure to lower your ISO down to 200 or 100.
7. Shoot in RAW
![(Image credit: Sharnee Swinnerton [@snowflakecreative])](https://cdn.mos.cms.futurecdn.net/dghxZ95rhFpMhtDqjWvETn-1200-80.jpg.webp)
RAW files retain all the details of your photograph, so you can make changes like adjusting exposure, highlights and shadows during post processing without compromising image quality. If your camera allows you to shoot in RAW, opting for this mode gives you far more post-processing options. If you want photos you can use and share more quickly, many of the latest interchangeable lens cameras (ILCs) allow you to shoot in both RAW and JPEG at the same time.
8. Forget flash photography

Whether you're using a camera or a phone (more on this later), don't turn on your flash or attach an external flash to the camera's hot shoe... unless your aim to photograph the people in front of the light installations. Instead, our advice for shooting subjects or scenes close up would be to increase ISO sensitivity if necessary (without going too high that you'll see noise in the end result) and slow down the shutter speed a little. This will allow more ambient light to hit the sensor and not overexpose your images.
Flashes can be very bright too, so chances are you will lose a lot of detail when using one, so reposition yourself – and your subjects – in a way that the light from the installations help brighten the image up. And flashes won't help with distance objects anyway.
9. Find the right spot
![(Image credits: Sharnee Swinnerton [@snowflakecreative])](https://cdn.mos.cms.futurecdn.net/RcSpWBSeabqBLAhiTfnTsm-1200-80.jpg.webp)
Vivid Sydney locations, especially the harbour, become very congested during the festival. Over 2 million people attend the show each year, and that means there are people everywhere. Finding the right spot, and the space to shoot without being jostled, can be hard. The lights are on each night from 6pm – 11pm local time, however, and if you want to capture the best images then we’d advise you to go early and stay late. If you’re able, also go mid-week when there are fewer people in attendance and you can avoid the crowded Friday, Saturday and Sunday evenings.
10. Time it right

Most of the light installations at Vivid change quite rapidly, and capturing the projections at just the right time can be key to a great image. You’ll need to know when to release the shutter and what kind of shutter speed you ought to use. This takes a bit of planning, and we’d recommend you visit the Vivid Sydney precincts a couple of times so you know what’s on offer. If you don’t have the time to do so, then be patient. The projections repeat after each set is complete, so stay put and watch the entire scene once or twice before getting click-happy. Many people shoot nonstop without checking their previous captures, and resultantly end up with mediocre images.
Taking a few moments to plan your shots will also make you think about the composition – remember to allow room for secondary elements, like reflections or light rays, around the main subject.
11. Have fun
![(Image credit: Sharnee Swinnerton [@snowflakecreative])](https://cdn.mos.cms.futurecdn.net/WnedEXR9Z5E82AqFy5RoJ7-1200-80.jpg.webp)
While you’re busy finding the right spot and avoiding the crowds – and, of course, making sure you’ve got your camera set up for the best possible shot – don’t forget to have some fun. Don’t just concentrate on photography, stop to watch the show and take it all in for yourself. If, however, photography is your main aim for attending Vivid Sydney, then try to be spontaneous. Capture some fun shots like bokehs, or capture the people around you as they stare in awe and enjoy the lights. You should also definitely try different angles, like going low or using the installed artwork around the city to either frame something. You’ll end up with some truly original shots that no one else will have.
How to photograph Vivid Sydney with a smartphone
Not everyone owns a 'proper' camera or wants to spend a lot of money on one with a manual mode. But if you own one of the best camera phones, particularly a flagship made in the last two to three years, you could get some excellent images. Older smartphones may not help here as computational photography and night modes on the native camera apps are relatively recent.
Google began to effectively use software to automatically process images taken on its Pixel phones since the Pixel 3 and it's only gotten better with time, making the Google Pixel 7 Pro our pick of the best smartphone for photography. Samsung can also compete well in this arena with its Galaxy S22 range and the S23 series, along with its latest foldables. Note, however, that Samsung tends to overprocess everything, but you might like the end results.
With Apple handsets, it's the iPhone 13 Pro and 13 Pro Max that got significant upgrades to handle situations like Vivid Sydney, with the iPhone 14 series adding more. Huawei's P-series phones are good too.
So if you have one of these, how do you make the most of what's on offer?
Some phones give you more manual control than you realise – this is available on Samsung and Apple flagships released in the last couple of years. You can play around with the settings and the preview on your screen will help you figure out what the resulting image will look like... sort of. As soon as the shot is taken, the phone will apply some automatic AI-enabled processing to improve on it. If you're not comfortable with the manual settings, you can also tap around your screen to let the phone automatically decide what works best.
Some handsets will also feature a dedicated night mode. You should definitely try this as this will allow you to capture movement (motion blur) without needing a tripod. However, if the phone automatically decides it needs to set a long shutter speed of 2-3 seconds, it's best to make sure your handset is stabilised on a small tripod.
![(Image credit: Sharnee Swinnerton [@snowflakecreative])](https://cdn.mos.cms.futurecdn.net/TzkamEcv27tKPr9xLpVcE8-1200-80.jpg.webp)
Best harbour vantage points to photograph Vivid Sydney
We’ve mentioned above that you should ideally visit the lights of Vivid Sydney at least a couple of times if you're keen on getting a varied set of shots. And this becomes even more important with several locations to choose from. Most visitors to Vivid Sydney, however, gather around Circular Quay or Darling Harbour and that's where you'll need to consider the crowds appearing in your images.
So a little planning goes a long way and it gives you time to scout out the best vantage points to capture the Harbour City in all its glory. The following list provides a few options that give you the best, and varied, views of the harbour, and this should help you to capture unique perspectives of the festival.
1. Circular Quay
While Circular Quay is the obvious choice, and the balcony of the Overseas Passenger Terminal gives you the best views of the Sydney Opera House and the buildings along the waterfront, you should walk around the harbour and try capturing the lights on the sails from different angles. Standing in front of the iconic building can give you a different perspective that you won’t get from the Overseas Passenger Terminal.
2. Cahill Expressway
If you’ve got a great wide-angle lens, you should get up onto the Cahill Expressway. The footpath beside the busy thoroughfare is accessible via a lift on the east end of Circular Quay, or via stairs on either end of the harbour. You get an elevated view of the entire harbour and a wide-angle lens will capture the Harbour Bridge and the Opera House in one single frame.
3. Kirribilli
Across the water from Circular Quay is the little suburb of Kirribilli. Anywhere along the water at Kirribilli offers amazing views of the Harbour City’s skyline. During Vivid Sydney, you’ll be able to capture the glass front of the Opera House, along with the rays of light hitting its sails. You’ll also be able to capture close-ups of the Harbour Bridge lights from here.

4. Blues Point Reserve
Just to the west of Kirribilli is Blues Point. From here, you’ll get sweeping views of the Opera House from under the Harbour Bridge. It’s a great spot for wide-angle panoramas, or close-ups of the Bridge itself if you have a telezoom.
5. Lavender Bay
This year, Luna Park will be lit up for Vivid and one interesting angle to capture its lights from is Lavender Bay – just a few minutes north of Blues Point while walking with the bay on your right. From here you get not just Luna Park, but you can capture the entire length of the Bridge with the amusement park nestled just under it.
6. Cremorne Point
With the entire city skyline diagonally to your right from this vantage point, you’ll see the Harbour Bridge in all its splendour. This is another great spot for those sweeping panoramic wide-angles, capturing the city, the Bridge and the Opera House in a single frame.

Other tips for a great Vivid Sydney experience
While this article aims at telling you how best to photograph Vivid Sydney, it would be remiss of us if we didn’t give you a few more tips we think you ought to know to make the best of the festival.
1. Dress warm. You’d think this was obvious, given the festival coincides with the start of winter in Sydney, but you’d be amazed at how many people come unprepared for the cold winds blowing in over the water. Sydney's also experienced unseasonal rains during this time previously, so a raincoat and/or an umbrella would be handy.
2. Don’t drive. Parking in the city is a nightmare on any given day, and with millions thronging to see the lights during Vivid Sydney, spaces will be at a premium, literally. Moreover, there are often road closures to contend with as well. You're far better off using public transport and there are always more trains and buses during special events like Vivid Sydney.
3. Hop on a ferry. There are plenty of cruises that take you around the harbour to give you different views of the lights around Circular Quay and Darling Harbour, but they can be quite expensive and you get stuck on a boat for hours seeing the same sights. A quicker and more inexpensive way would be to take a ferry heading east towards either Watsons Bay or Manly, and also head west up the Parramatta River to see Barangaroo and go under the Harbour Bridge.
4. Put your camera away for a bit. Don’t concentrate on just the images you’re trying to capture, as you’ll miss out on so much else. While the view through your camera’s viewfinder (or rear LCD display) can be great, it’s still like having blinders on. Look around you, walk around, enjoy the sights and sounds, the ambience and, most importantly, the light show. You might even see some things to shoot that you wouldn't otherwise have thought to capture.
5. Stay safe. While life has more or less gone back to normal in Sydney after months of lockdown during 2020 and 2021, the Covid-19 pandemic is still rearing its ugly head. It would be a good idea to wear masks, particularly in crowded areas, even if it's open air. And it's mandatory to wear masks on public transport. Keep a bottle of hand sanitiser handy too, if you think it's necessary.
For more information on the festival and how best to plan your outing, head to the official Vivid Sydney 2023 website.
Related articles:
Pro tips for better nighttime city and architectural shots
Best low-light cameras
Best locations for photographers
Best lens for street photography
Best camera for street photography